SIONEsione
carpentry
Thursday, 14 April 2011
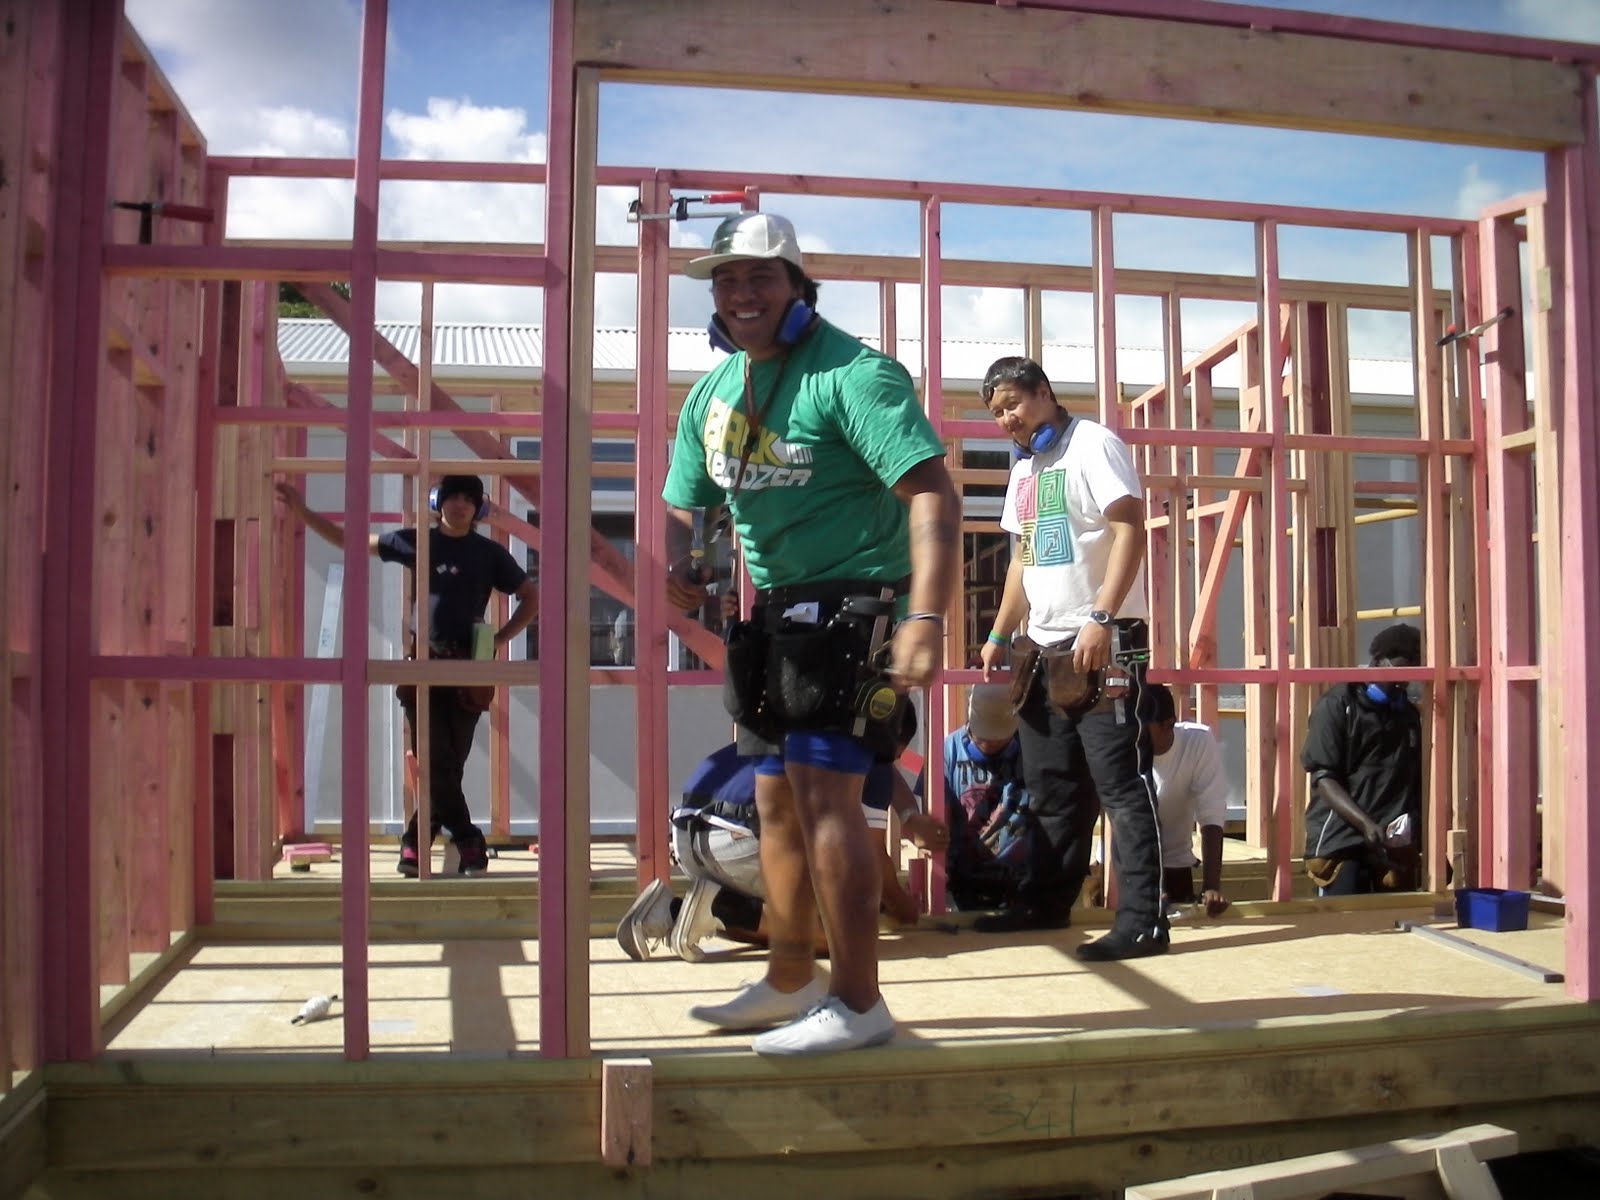
pictures of us working hard
This is me and the group trying to figure out how we could build and construct our Back wall
ME AND MY GROUP POSING FOR OUR PHOTO'S
TEAM SUPREME BUILDERS.
AROU CUTTING OUR PIECES OF TIMBER
LIONEL DISCUSSING THE SIDE WALLS WITH MOE AND NIEL
ME AND MY GROUP DOING A RUNNING MEASUREMENT SO WE CAN LAMINATE OUR LINTEL.
THIS IS OUR FOUR FRAMING'S UP AND FIXED TOGETHER
ME AND THE BOYS NAILING OUR NOGS TOGETHER.
We used our clamp just to hold our wall togetherso we could get them square.
This is the boys checking our studs and noggs are nailed in properly and that they are not loose.
This is my group setting up a stringline to check if our back wall is straight.
This is me working hard as ever.
This is me and my group trying to square up the corners of the house.
Now we are checking if our walls are square using the spirit level.
Monday, 11 April 2011
DOUBLE STUDS ARE THEIR FOR WEIGHT SUPPORTERS.
BLOCK AND LINE IS TO FIND OR TO CHECK IF ITS STRAIGHT OR PARALLEL.
3/4/5 METHOD IS TO FIND IF THE BUILDING IS SQUARE.
FLOOR FRAMING
1st we set out our profiles/barriers
we had to find our datum point
set out dumpy level
we marked the heights on the profiles.
set up batter boards to the bottom of the marks.
set out stringline for locating the four cornersof the house.
set out ground plate with a 50mm offset
pin ground plate with hilty
measure the piles from the stringline to the ground plate.
fixed and braced piles
50mm from edge then 200mm offset lamanating bearers.
fixed bearers to piles.
set out our double joist.(mark 600 in from each end of a double joist)
we transferd the marks from back joist to front to keep them paralell
block and line to straghten back joist
nail on side joist
3/4/5-square the joist up
fixed front joist
block and line front joist
measured/cut/fixed in place
Erecting/Standing wall frame
Nail stopping blocks to joist
lift walls into place
tacked bottom plates in so it wouldn't move and fixed in some temporary braces.
block and line the back wall to check if our back wall was straight.
make sure the sides are the same length
3/4/5 to make the side wall square or do diagonal (corner to corner to check for squareness as well)
we plumbed and braced our corners and nailed everything down.
Monday, 4 April 2011
PICTURES OF ME AND MY BOYS WORKING.
THIS IS US USING THE DUMPY LEVEL
THATS ME ON THE GROND MARKING OUT OUR DATUM POINT. USING THE DUMPY LEVEL TO GUIDE THE STICK THAT WE'RE HOLDING.
THATS ME AND MY BOYS. I WAS THE BOSS FOR OUR FRONT WALL.
SOME OF THE BOYS ACTING LIKE THEIR DOING WORK
THIS IS MY GROUP GETTING READY TO CUT UP OUR PIECES OF WOOD FOR OUR JOIST'S.
BRANDON ON THE SKILLY (SKILL SAW)
THE BOYS STANDING AROUND AND PUTTING THE PIECES OF WOOD ON TO THE SAW STOOL.
THE BOYS DISCUSING A WAY TO CUT OUR PIECES OF WOOD
THIS IS ME INSTRUCTING THE BOYS TO DO A 20mm OFFSET. AND THE OTHER BYS ARE STRAGHTENING OUT THEIR BENT NAILS.
THE BOYS SETTING OUT OUR FLOOR SET OUT
THATS ME HOLDING THE SPIRIT LEVEL
MY FRIEND MOE GETTING INTROUBLE FROM BJORN LOL
SOME OF MY GROUP SETTING OUT OUR STRIGLINES.
THIS IS US SETTING OUT OUR BACK WALL FRAMING
MY GROUP WORKING HARD AS ALWAYS.
THE BOYS MEASURING TWICE AND CUTTING ONCE.
SETTING OUT OUR BOUNDRIES
Newer Posts
Older Posts
Home
Subscribe to:
Comments (Atom)