
carpentry

Monday, 2 May 2011
SCAFFOLDS AND SCAFFOOLDING
Scaffolding is an extremely important piece of construction equipment. Scaffolds are a great way to keep the construction site safe. With scaffolding, construction workers have a reliable way to keep firm footing when working on hard to reach areas. Scaffolding is also a great way to keep supplies handy. You can place your supplies on a scaffolding plank and, instead of walking up and down a ladder to get more supplies, your supplies will be right on the scaffolding plank with you. Using scaffolding will make anyone feel more secure when working on projects that require any kind of climbing.

Scaffolding is an extremely important piece of construction equipment. Scaffolds are a great way to keep the construction site safe. With scaffolding, construction workers have a reliable way to keep firm footing when working on hard to reach areas. Scaffolding is also a great way to keep supplies handy. You can place your supplies on a scaffolding plank and, instead of walking up and down a ladder to get more supplies, your supplies will be right on the scaffolding plank with you. Using scaffolding will make anyone feel more secure when working on projects that require any kind of climbing.
Scaffolding
Scaffolding is the general term used for all the products that make up a scaffold. Scaffolds are usually made from steel or aluminum. Scaffolding can be used for many purposes and can be of many sizes. Most of the larger scaffolding are anchored or tied to the building for additional support. Some of the main components of a scaffolding are:Scaffolding Standards
Scaffolding Standards are also known as uprights. Scaffolding standards are vertical tubes that are the main support for the scaffolding. Standards transfer the scaffolding load to base plates or base boards which spread the load of the scaffold.Scaffolding Ledgers
Scaffolding ledgers are the horizontal tubes which connect to the scaffolding standards or uprights. Scaffolding ledgers are an important because they add stability to the scaffold. Scaffolding ledgers are also needed because the scaffolding transoms are placed on these which allow scaffolding planks to be used.Scaffolding Transoms
Scaffolding Transoms are tubes that rest at right angles on the scaffolding ledgers. These are the support for the planks and boards of the scaffold. Without the scaffolding transoms, scaffolding boards wouldn't have much support and would not be able to carry much weight. By using scaffolding transoms properly, a scaffolding board can support a lot of weight.Scaffolding Cross Brace
Scaffolding cross braces are used to support the scaffold and add rigidity. These are placed to support the scaffolding standards and scaffolding ledgers. Scaffolding cross braces are especially important for larger scaffolds and the extra stability they provide will increase construction safety.Scaffolding Base Plate
Scaffolding base plates are used to hold and support the scaffolding standards. Scaffolding bases help spread and distribute the weight of the scaffolding. By using scaffolding bases, more load may be placed upon the scaffold standards because of the distribution of weight.Scaffolding Planks
Scaffolding Planks and scaffolding boards provide a working surface for scaffold users. Scaffolding Planks are placed upon scaffolding transoms and are made from seasoned wood, timber, laminate, steel, or aluminum. Scaffolding Planks come in many sizes to accommodate the particular needs of the individuals working on the scaffold.Scaffolding Ladders
Scaffolding ladders make it easy to transition between the levels of a scaffold. Scaffolding ladders also make it easier to carry construction equipment and other building materials to where they are needed.
SCAFFOLDING DIAGRAM

Thursday, 14 April 2011
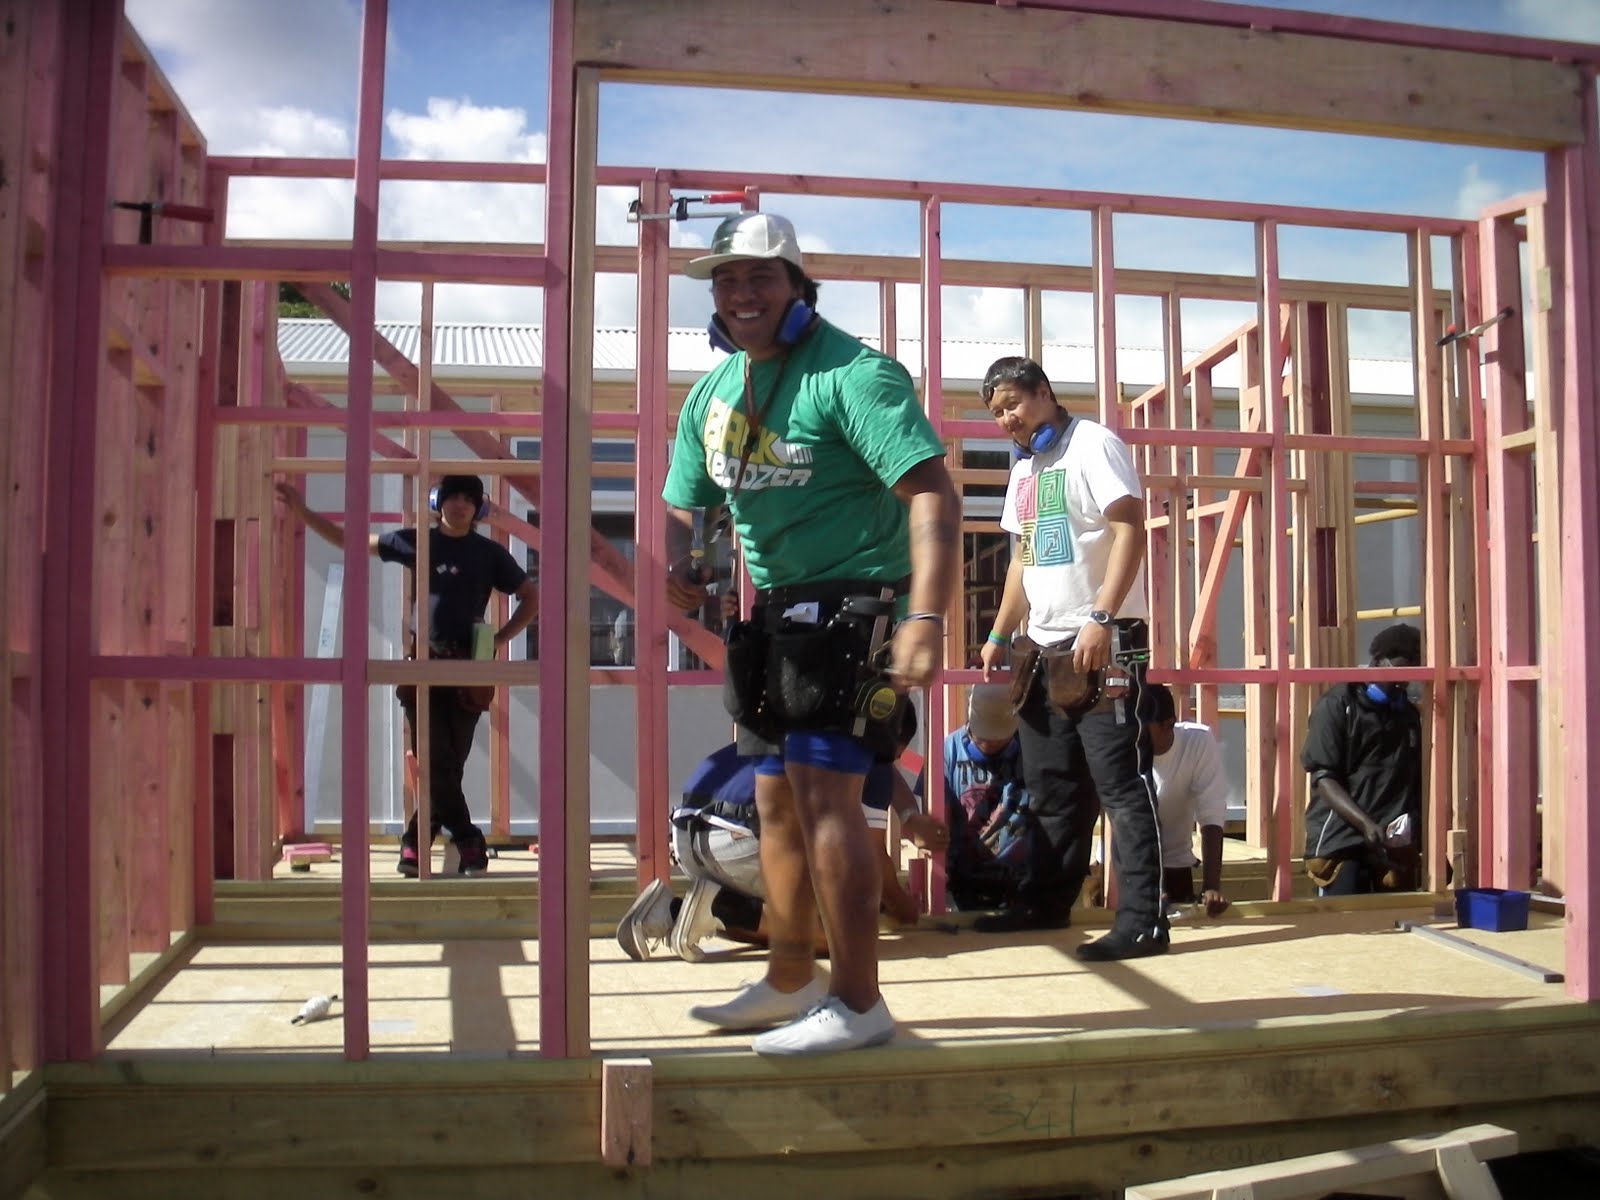
pictures of us working hard


TEAM SUPREME BUILDERS.


AROU CUTTING OUR PIECES OF TIMBER


ME AND MY GROUP DOING A RUNNING MEASUREMENT SO WE CAN LAMINATE OUR LINTEL.

THIS IS OUR FOUR FRAMING'S UP AND FIXED TOGETHER


Monday, 11 April 2011
FLOOR FRAMING
- 1st we set out our profiles/barriers
- we had to find our datum point
- set out dumpy level
- we marked the heights on the profiles.
- set up batter boards to the bottom of the marks.
- set out stringline for locating the four cornersof the house.
- set out ground plate with a 50mm offset
- pin ground plate with hilty
- measure the piles from the stringline to the ground plate.
- fixed and braced piles
- 50mm from edge then 200mm offset lamanating bearers.
- fixed bearers to piles.
- set out our double joist.(mark 600 in from each end of a double joist)
- we transferd the marks from back joist to front to keep them paralell
- block and line to straghten back joist
- nail on side joist
- 3/4/5-square the joist up
- fixed front joist
- block and line front joist
- measured/cut/fixed in place
Erecting/Standing wall frame
- Nail stopping blocks to joist
- lift walls into place
- tacked bottom plates in so it wouldn't move and fixed in some temporary braces.
- block and line the back wall to check if our back wall was straight.
- make sure the sides are the same length
- 3/4/5 to make the side wall square or do diagonal (corner to corner to check for squareness as well)
- we plumbed and braced our corners and nailed everything down.
Monday, 4 April 2011
PICTURES OF ME AND MY BOYS WORKING.

THIS IS US USING THE DUMPY LEVEL


THE BOYS STANDING AROUND AND PUTTING THE PIECES OF WOOD ON TO THE SAW STOOL.


Subscribe to:
Posts (Atom)